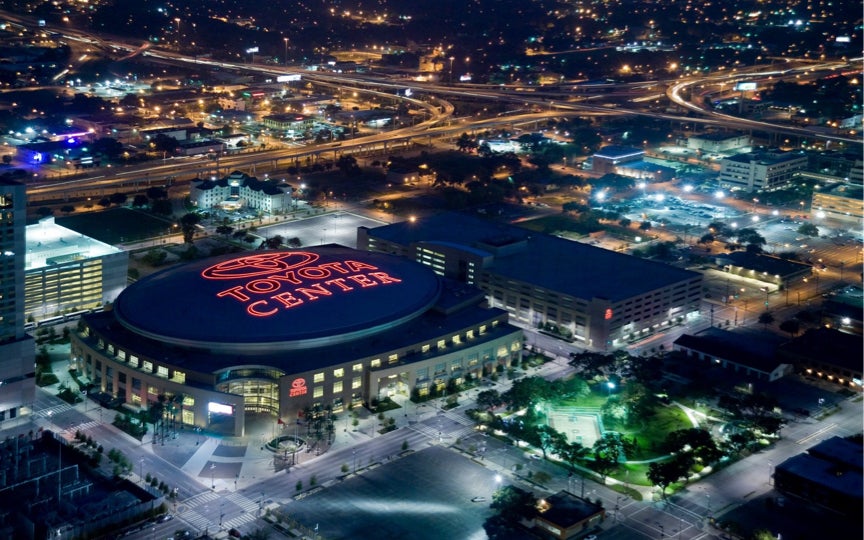
Spotlight with Image, Link, and Description
You can include bulleted and numbered lists within a spotlight and even a link within the text. In this format, the image, text, and more information button will be clickable.
Lead-In Paragraph: Write out your text then highlight it. In the text editor, click the Paragraph Format button and choose "lead paragraph."
Normal Font: Bold text italicized text subscript superscript. This is the default style for text on your site. When you create a new text block and start typing, this is the default text that will appear on the front end of your site unless you choose an alternate style. You can choose styles by clicking on the Paragraph Format button in the text editor (bottom row, second dropdown in from the left, it will say "Normal.") From there, you can choose a heading type or you can choose from various other styles like Lead Paragraph (displayed above), bold, italicized, subscript, superscript, numbered and bulleted lists, or blockquotes, all of which are sampled on this page.
Navigate your cursor to the spot where you would like the quote to display. Click on the Block Quote button in the text editor. A new menu will appear above your work, prompting you to enter the quote and byline. Click ok to save.
Taylor P, carbonhouse Client Services
Bulleted and numbered lists can be created in any text block. Simply write out the list of items, highlight them and then click on the bulleted list icon or the numbered list icon in the text editor. The list will automatically add the numbers/bullets to each item.
Create new buttons within text areas. Navigate your cursor to the spot where you would like the button to display. Click on the Button button in the text editor. A new menu will appear above your work, prompting you to enter the text (button text) and the URL, and to choose to open in a new window if desired. Click ok to save.

Navigate your cursor to the place where you would like to display the image. Click on the Add Media button and choose your image. Once it appears in the text block, double click on the image to pull up a menu of options. From here you can assign alt text, choose alignment, and include a caption. Click ok when finished.
*carbonhouse recommends not adjusting the image size from this menu since most sites are responsive and therefore locking in the size can jeapordize it's responsiveness.
Use a horizontal line (as shown above and below this paragraph) to break up text on a page. Write out your text, place your cursor in the desired location of the horizontal line and click on the horizontal line icon in the text editor.
A horizontal line will appear in Showtime to show you where you've placed it.
FAQ lists are a great way to break up text within a page to make it more manageable for the reader. Click on the Add Content button and choose FAQs. Click Add New to start your FAQ list. Enter a title and use the free form description field for all of the information related to that title. That information can include descriptions or simply a link off to a page on the site that can provide the user with all of the information they need, which will avoid duplication of content on the site.
FAQ Sample
Integer molestie lacinia augue, at dignissim nisl vestibulum vitae. Phasellus accumsan volutpat purus eu laoreet. Fusce ac nisi eros. Proin ac lacus id neque imperdiet faucibus. Aliquam vel sapien luctus, ultrices risus et, lobortis purus. Ut fringilla et lectus eu facilisis. Curabitur vulputate eget risus quis varius. Aliquam erat volutpat. Sed vitae sapien eget dui eleifend rutrum.
Integer molestie lacinia augue, at dignissim nisl vestibulum vitae. Sed vitae sapien eget dui eleifend rutrum.
Integer molestie lacinia augue, at dignissim nisl vestibulum vitae. Phasellus accumsan volutpat purus eu laoreet. Fusce ac nisi eros. Proin ac lacus id neque imperdiet faucibus. Aliquam vel sapien luctus, ultrices risus et, lobortis purus. Ut fringilla et lectus eu facilisis. Curabitur vulputate eget risus quis varius. Aliquam erat volutpat. Sed vitae sapien eget dui eleifend rutrum.
If you have a long list of items, a two-column style may be more aesthetically pleasing. Write out your list, then highlight the entire text and click on the "div" button in the text editor. A new menu will pop up, in the field labeled "stylesheet class" type "two-column" (without the quotation marks) and it will automatically wrap the content into two columns.
If you have a list of items that you want to link, a link list is a far better alternative than simply writing the list out and linking within the text. Add the Link content item, click the Add New button. The Title field is where you place the word that you to display to represent your link, then enter the link in the URL field. A description field is optional. As shown below, bulleted and numbered lists are supported here as well as links within the text. Save.
If you're linking to a page within the site, ONLY link to the part of the URL that comes after the .com. The system will recognize this as an internal link and automatically add the domain. This is particularly important during the soft launch period when the site you're working on is on the production.carbonhouse URL. Once you go live, your domain will go back to your current domain. If you have linked to the production URL, it won't break, but it will affect your SEO and can confuse users.
For external links, be sure to include the WHOLE link, including the HTTP part of the link. The system will automatically open the link in a new window.
You can use the Add Media button to have the system automatically drop in the URL for a particular media item. It's ok if you haven't uploaded it to the system yet, you will be able to do it from the media gallery after you've clicked Add Media.
You can use the Add Media button to have the system automatically drop in the URL for a particular media item. It's ok if you haven't uploaded it to the system yet, you will be able to do it from the media gallery after you've clicked Add Media.
Linking to an email address will add the email icon to the link and, when clicked, will open in the user's email program, if available.
Social Media Icons support is available for Twitter, Facebook, Instagram, Pinterest, Youtube, and Snapchat.
If an item is accidentally created without a link, it is still supported with styles, but the link icon doesn't show and it is not clickable.
Spotlights are a fancy link list. They're a great way to incorporate images into the body of your text to make the page more interesting for the viewer.
There are multiple layout options for Spotlight Lists:
You can switch between the different layouts by clicking on the Edit button on the spotlight list content item and changing the layout.
You can include bulleted and numbered lists within a spotlight and even a link within the text. In this format, the image, text, and more information button will be clickable.
You don't have to include a link. If you don't, no button will appear.
If you don't have an image, but still like the way the spotlight list looks, that's fine! Go ahead and create your spotlight without an image. In this case, just the title and more info button will be clickable.

If you don't include a link, the button will not show and the image and title will not be clickable.
News can be brought back into any page based on their promotion type. To add news:
If you want to create a new promotion type, put a ticket into the Help Desk and one of the Support representatives will set it up for you.
The database of News items is managed under Website > News.
Once you've set this up, the news items will automatically display on this page based on the display on date and time set on the Options tab of the news item.
You can bring back your list of Visitor Guide items onto any page based on their category.
If you want to create a new category type, put a ticket into the Help Desk, and one of the Support representatives will set it up for you.
The database of Visitor Guide items is managed under Website > Visitor Guide.
Once you've set this up, the concierge items will automatically display on this page when published in the Visitor Guide module. They will also automatically be removed from the page if they are turned off or deleted in the Visitor Guide module.
Events can be brought back into any page based on their promotion type. To add events:
If you want to create a new promotion type, put a ticket into the Help Desk and one of the Support representatives will set it up for you.
Once you've set this up, the events will automatically display on this page based on the display on date and time set on the Options tab of the event and automatically be removed from this page once the event is over.
Your database of contests can be brought back into any page. To add contests:
The database of Contests is managed under Promotions > Contests.
Once you've set this up, the contests will automatically display on this page based on the display on date and time set on the summary tab of the contest and automatically be removed from this page once the contest is over.
You can bring back your list of available Jobs onto any page.
The database of Jobs is managed under Website > Jobs.
Once you've set this up, the jobs will automatically display on this page based on the display on date and time set on the job and automatically be removed from this page once the Job is no longer available based on the end date and time set on the job.
Add a map onto any page.
Optional Features